Pokémon Go Feature detection with OpenCV2
· Reading time: 5 mins
This is my first post in ages. What can I say! I've been too busy studying finance and working to devote much time to writing code for fun. I've found some form of balance as of late, though, and a new drive to discover things, and I've gotten back to the grind.
I got back big time into Pokémon Go after fiddling with it at its inception and then setting it aside for almost a couple of years, and just recently began growing accustomed to my local community. I got curious about one particular aspect of the game, that is, excellent curveballs, and began to ponder about a potential general principle to improve the technique. My (still broadly untested) idea would be that the most reasonable pathing for a curveball throw would be a polynomial of degree not greater than second. So I decided to test the theory by working on an Android app which would predict a sensible pathing and overlay it on the screen in order to guide the player and see if it could bring any improvement.
Theory. As the objective is to throw a curveball from the lower left/right of the screen to the dead center of the pokémon's capture ring, the process should be broken down in two phases: first, detect the center of the capture ring, then fit a polynomial through said center and one corner of the screen.
Ring detection
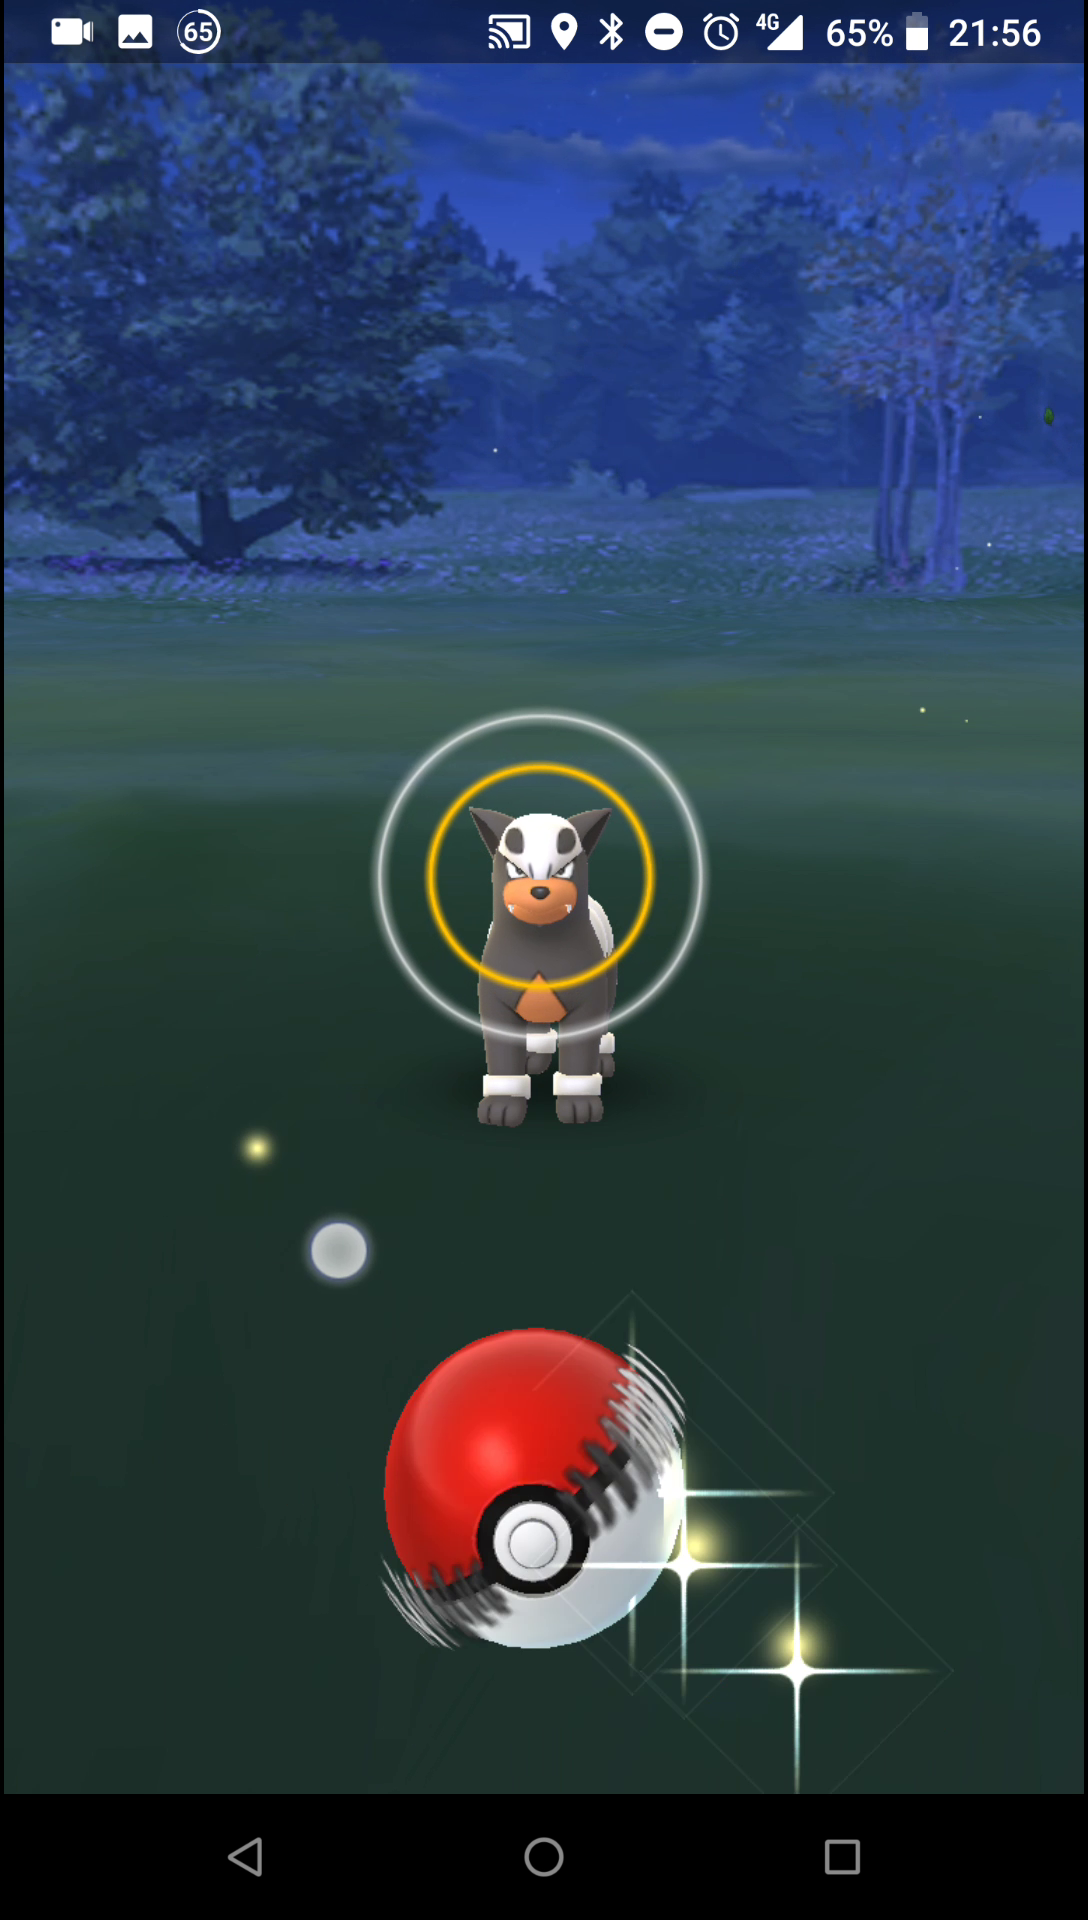
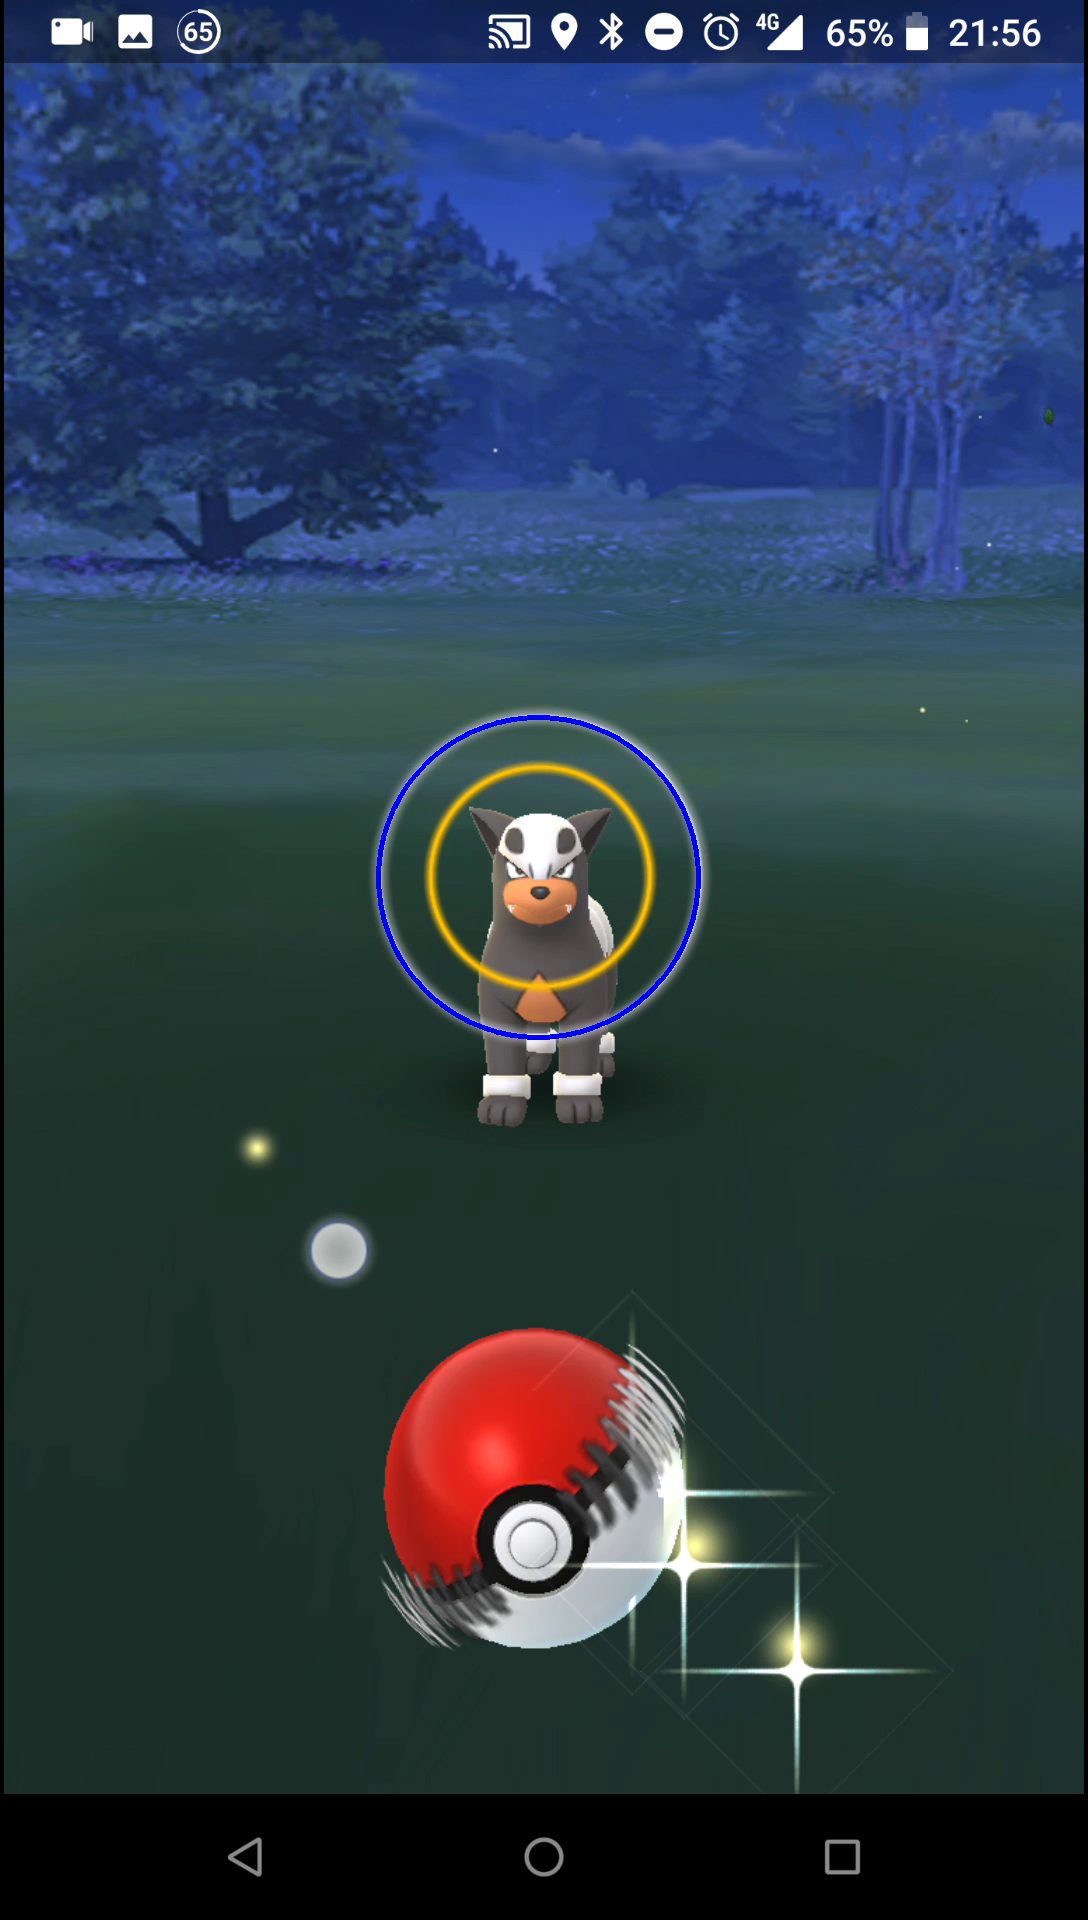
We will take a sample screenshot to perform our feature detection on. The screenshot I chose doesn't really generalize well enough for reasons that will become apparent soon, but it will do for the purposes of this article. So let's go ahead and load our Houndour screenshot with the cv2 library.
import cv2
from PIL import Image

img = cv2.imread('houndour.png')

Image.fromarray(cv2.cvtColor(img, cv2.COLOR_BGR2RGB))
To detect our ring, before pulling out the big guns of complex and inscrutable algorithms, we want to do as much heavy lifting ourselves as possible and try to isolate the ring and neutralize every other element if possible. This is not conceptually very hard as we have a wealth of readily available information at hand:
- The ring is usually placed horizontally in the middle of the screen, and if it isn't you might as well wait a few seconds for the pokémon to just go back to its place, or are we being a little impatient, aren't we?
- The ring is also usually placed vertically in the middle of the screen, I'd say "roughly in the middle third of the screen" would be a more than generous estimate.
- The ring is always white-ish and not very transparent, so some very narrow thresholding can be done to isolate its colors and exclude everything else.
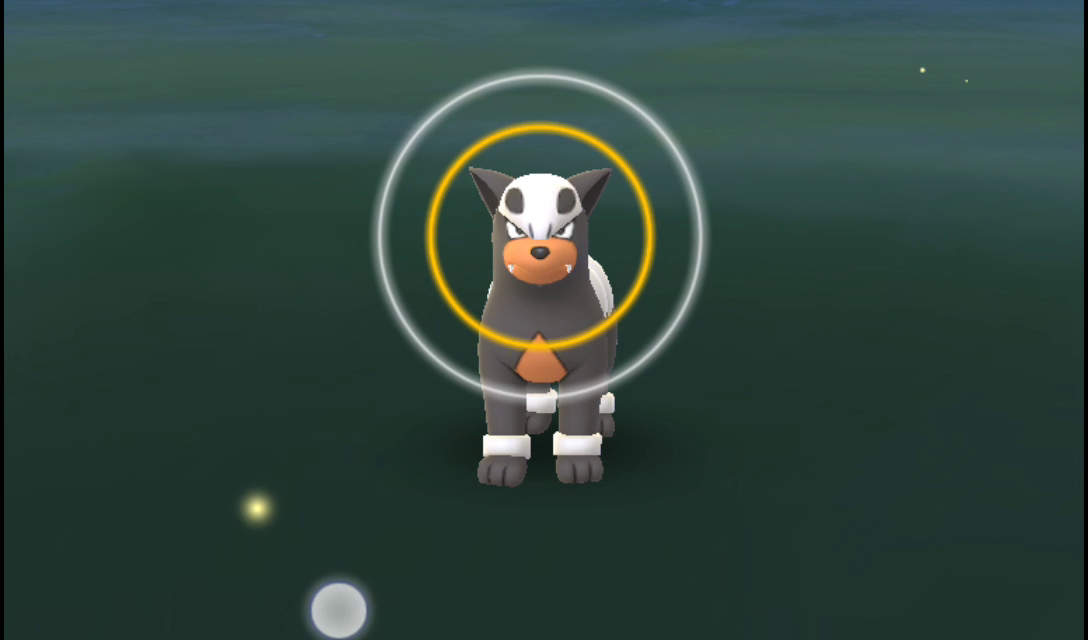
Knowing that, we can simply crop an area in the middle of the screen, threshold some colors and see what happens to begin with. Okay, okay, let's skip the horizontal crop part for simplicity (and impatience). Anyway, cv2 imports images as numpy arrays, so cropping is equivalent to indexing.
import numpy as np

h, w, _ = img.shape
y = h // 3
cimg = img[y : y + h // 3, :, :]

Image.fromarray(cv2.cvtColor(cimg, cv2.COLOR_BGR2RGB))
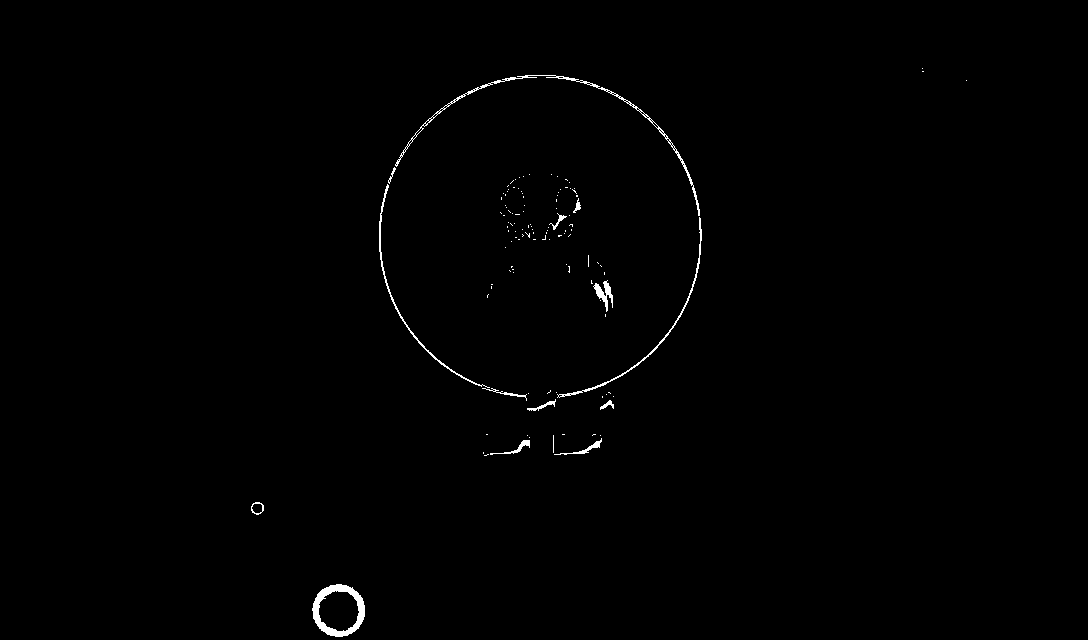
Having cropped the image, it is now time to find an appropriate color threshold to isolate the ring. Don't worry, I did the hard work and found it for you, and the cv2.inRange function is going to do the rest. The image has to be converted into the HSV space first, as it is a much easier color space to manipulate thresholds in. We let the hue vary greatly (it may be affected by some lighting from the environment), the saturation stay below 100 while the value sticks to a relatively narrow range of 190-210, and this is what makes the real difference.
cimg = cv2.cvtColor(cimg, cv2.COLOR_BGR2HSV)
cimg = cv2.inRange(cimg, np.array([0, 0, 190]), np.array([192, 100, 210]))
Image.fromarray(cimg)
We now apply a series of filters to this result to improve the "compactness" of the output for the real meat and potato that's about to come. We apply in sequence a dilation, a blur, and an erosion. The first filter makes sure that we get a big fat outline, filled with white pixels, the second one smooths it out, and the third one makes it thinner but still ultimately without gaps.
cimg = cv2.dilate(cimg, np.ones((10, 10), np.uint8), iterations=1)
Image.fromarray(cimg)

cimg = cv2.blur(cimg, (7, 7))
Image.fromarray(cimg)

cimg = cv2.erode(cimg, np.ones((10, 10), np.uint8), iterations=1)
Image.fromarray(cimg)

Okay, the image is clean enough for my standards. We're now ready to approach the final step of this first phase, that is, the actual ring detection. Enter the Hough transform for circles. I will maybe expand this post with some theoretical details later on if need be. For now, we'll just stick to applying the transform with a resolution parameter of 1 and a circle distance parameter of 100 (both of them not really essential). As we did a nice cleanup job before, we immediately get a good match in the form of a (cx, cy, radius) tuple.
cx, cy, r = np.squeeze(cv2.HoughCircles(cimg, cv2.HOUGH_GRADIENT, 1, 100))
cx, cy, r
(538.5, 237.5, 160.0)
We can now invert the cropping transformation we did beforehand, find the actual, screen-space circle, and paint it.
cv2.circle(img, (int(cx), int(cy + y)), int(r), (255, 0, 0), 3)
Image.fromarray(cv2.cvtColor(img, cv2.COLOR_BGR2RGB))
HA! GOTCHA!
That's it for this post. More study is required to understand how we could fit a polynomial through a sensible excellent curveball path. Later!


